Thrifty Bulletin Board
Hello follower bloggers and readers! Today I want to share with you my thrifty bulletin board project!
I’ve had some cork pieces laying around always with the ambition of doing something with them in my dorm, and then when I moved out of there, my apartment, and when I moved out of there, I finally decided to make a bulletin board for my condo.
 This project cost me around $6. I bought the frame at Goodwill for $4, a bottle of paint from Michaels for $1 with a coupon (which I always search for on my phone while shopping at craft stores), and $1 toward a package of sponge brushes. The rest of the supplies I found laying around my place, such as the cork, finishing nails, and ribbon. (I figured rummaging your own home for supplies could be considered “thrifty”.)
I began the project by removing the glass and lovely print of two tigers. I started painting the frame white to have a base for the light blue. This way the color wouldn’t turn out dingy.
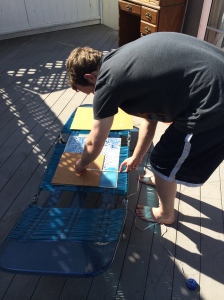
 While letting the first coat dry, I recruited help from my fiancé, Matthew, to cut the cork into rectangles to fit into the frame. I didn’t have a large enough piece of cork to make it solid so we made a little design.
Once the first layer of paint dried, I painted a thin layer of blue on top because I wanted a little of the white to peak through.
 While that was drying, we glued and nailed the cork to the original cardboard backing. When if came time to reattach the backing now with the cork to the frame, I realized that I don’t have a staple gun to hold it in place. So I used small finishing nails in the four corners and along the sides to keep the backing in place. I then attached the ribbon with some thumb tacks and hung the finished project on the wall with some personal touches!
 The whole project simply took one afternoon to complete which gave me a proud sense of accomplishment for the day. Hey it’s the little things in life. And I got to spend the day working on something with Matthew which is always a treat.
Please leave any questions or comments below. We love your feedback and would also like to hear about your projects!
Thanks, Colleen


