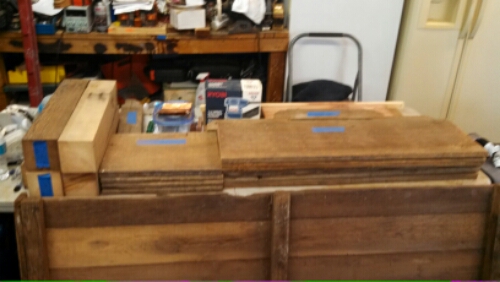
After hours of searching through my stash of barnwood lumber I had picked out the wood for the hope chest that I would be giving my, girlfriend at the time, now fiance.
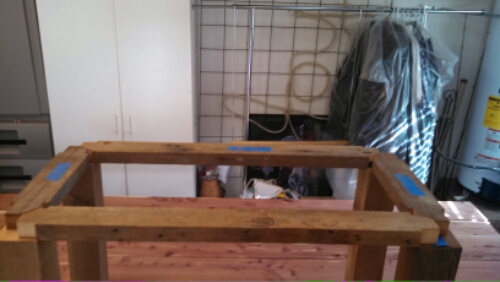
The next step was to layout all the pieces of the frame to get an idea of the footprint.
I built the base first using 2×4’s. The frame itself is 4 2×4’s cut at 45 degree angles and doweled together. The support pieces in the center were ripped off of 2×4’s as well and then doweled to the outer frame. To glue it all up I used some ratcheting straps and a couple of extra hands.
After the glue up, I ripped the aromatic cedar boards to the correct dimensions and placed the on the supports.
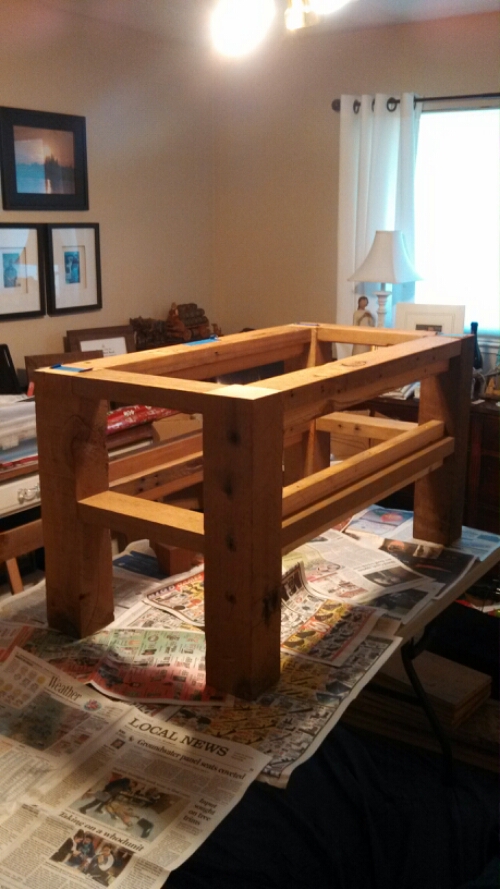
Now that the base was complete I moved on to the frame for the chest. There are two levels of 2×4’s that come the 4×4’s. To achieve this I mortised the 4×4’s on the correct corners and made a tenon on each end of the 2×4’s. The tenons were then cut at 45 degree angles to meet flush inside the 4×4 creating a very strong joint.
After getting the frame just how I wanted, I ripped more of the cedar lumber down to create an inner wall for the chest.
Next I made feet for the chest out of 4×4’s. To accomplish this I made two cuts into the 4×4 to make an “L” shape with a notch in the back. I think cut the curved sections on a band saw.
I installed the outer walls, putting a 2×4 ripped down to 1×2 to act as spacers for the inner and outer walls on the long sections. The ends contain “hidden compartments” with hangers for jewelry. The picture above shows the finish going on before the inner cedar walls are installed for the final time.
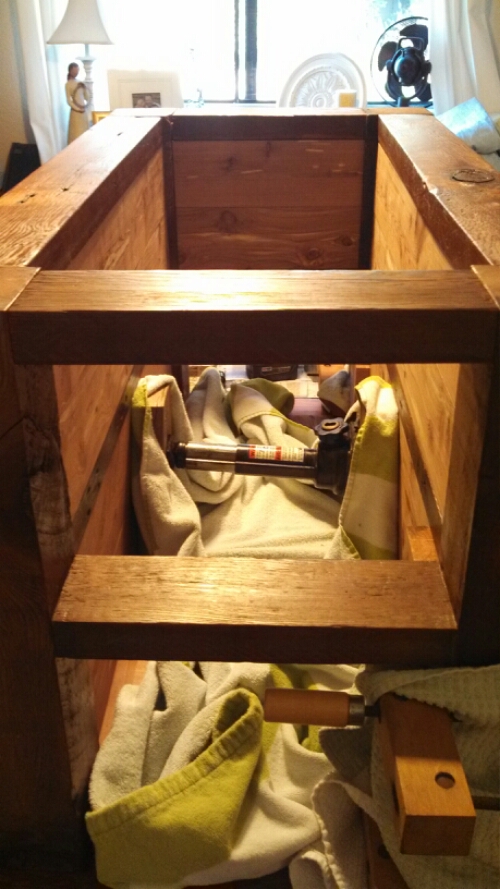
I wanted to keep pressure on the inner walls during the glue-up. So, I stole the bottle jack from my pickup (thankfully I didn’t have a flat tire during this).

Next I installed the outer doors after attaching the chest to the base. These are mounted on hinges and supported by brass chains. A magnetic latch releases the doors when depressed. I rounded off the top inside edge of each door to ensure that each opened and closed smoothly. Now for the lid…

The lid has an inner wall of aromatic cedar and outer of barnwoods to match the rest of the chest. The 2×4’s have mortise and tenons, as shown in the photo above, and the cedar boards ripped from the lumber was attached using dowel joints.

I commissioned the carving above out of walnut. This would later be installed on the inside of lid for the chest.

The final glue-up for this project was the top barnwoods panels for the lid. Four pieces make up the outer wall of the lid. Two slender pieces on the outside perpendicular to the longer boards to add a little geometric interest.
And finally to finish it off with the stamp of approval.
This was about a yearlong process. It had it’s trials, but the end result was a unique gift for a very deserving girlfriend (now fiance).
The hope chest in it’s current resting place with the barnwood mirror referenced in a previous blog I had written.


